1. Click Protected Machines in the Main Menu to open the Protected Machines screen.
2. For the protected machine you want to restore, click the corresponding Actions menu and select Open Recovery Points.

The Recovery Points window for the protected machine displays.
3. Find a recovery point in the Recovery Points window, click the corresponding Actions menu, and select Bare Metal Restore.

4. The Bare Metal Restore wizard displays. Review the introductory information and click Next to continue.

5. The Choose Filesystems screen lists each filesystem and swap device (if Linux) available in the Recovery Point.
Here, you can select the filesystem you want to restore. All available filesystems are listed. At least one must be selected by selecting the corresponding check box.
 |
Tip To display filesystem properties, click the > icon in front of the filesystem name. The following data is provided for each filesystem:
|

Click Next to proceed.
6. On the Host screen, select the below one.
- Restore to Alternate Host Name/IP – Connects to the specified Host Name and port. This option allows you to restore to a Host with a Host Name/IP address different than the original Host. For example, if the PXE host has a different IP, specify the IP address.
If you choose to restore to an alternate protected machine that is not in the system, select the last option (Restore to Alternate Host Name/IP). Then enter the Host Name or IP address of the alternate machine. This option should be selected when you perform a Bare-Metal Restore using Agent Live CD or Agent PXE Boot.

Click Next to proceed.
7. On the Restore Storage Configuration screen, select one of the following options:
- Use Existing Storage Configuration – Bare-Metal Restore will use the existing Storage Configuration. This option should almost never be used when performing a Bare-Metal Restore.
- Select Storage Configuration to Restore – Selecting this option lets you pick a Storage Configuration to restore to the target Server. In most cases, you should select this option.
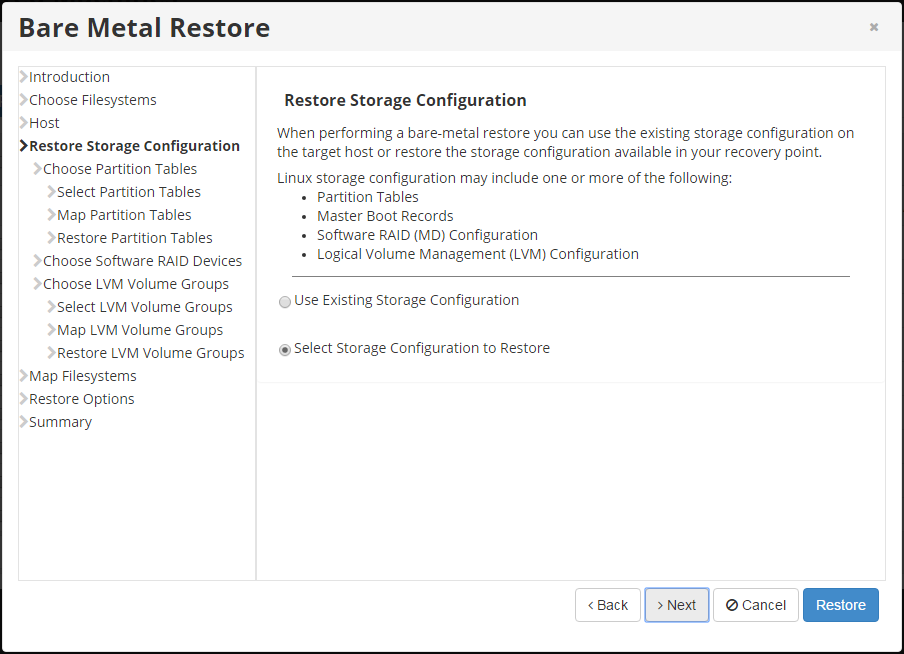
Click Next to proceed.
8. On the Choose Partition Tables screen, select the below one
- Use Existing Partition Tables on Host – Bare-Metal Restore will use the partition layout already present on the target Server.

Click Next to proceed.
Perform the partition table restore by clicking on the “Restore Partition Tables” button. Once confirmed, the Partition Table Restore will be initiated.
| Note: Restored partition tables will overwrite the existing partition table layout on the target devices. |
When the process is over, click “OK” in the notification pop-up.

Click Next to proceed.
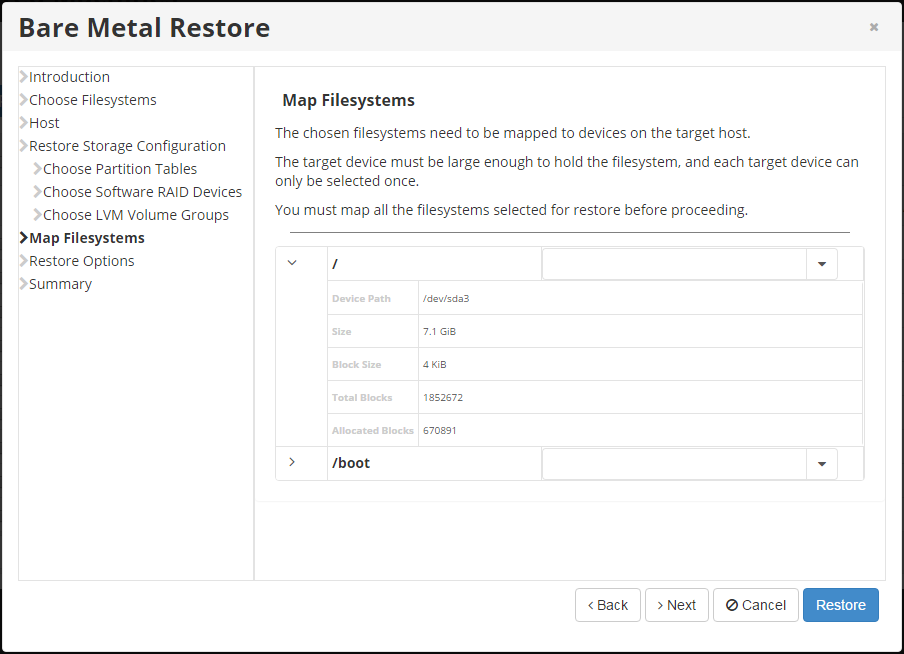
16. On the Map Filesystems screen, map the chosen filesystems to the devices on the target machine. From the drop-down menu, select the destination devices for each source filesystem.
 |
Notice The target device must be large enough to hold the filesystem. Each target device can only be selected once. |
Click Next to proceed.
17. On the Restore Options screen, define the following options:
- Reboot After Restore – Select this checkbox to reboot the target host after the restore is performed.
- Check Filesystems After Restore – Select this checkbox to check the filesystems after the restore is performed.
- Rebuild Swap Partitions – Select this checkbox to rebuild the swap partitions.

Click Next to proceed.
18. On the Summary screen, review and confirm your selected Bare-Metal Restore options. Each selected filesystem is listed, along with the name of the target device to which it is being mapped.

19. Click Restore to start the Bare-Metal Restore task.
The data restore is initiated. Click OK in the “Restore scheduled” pop-up message.